Get PhylaxNet for Windows.
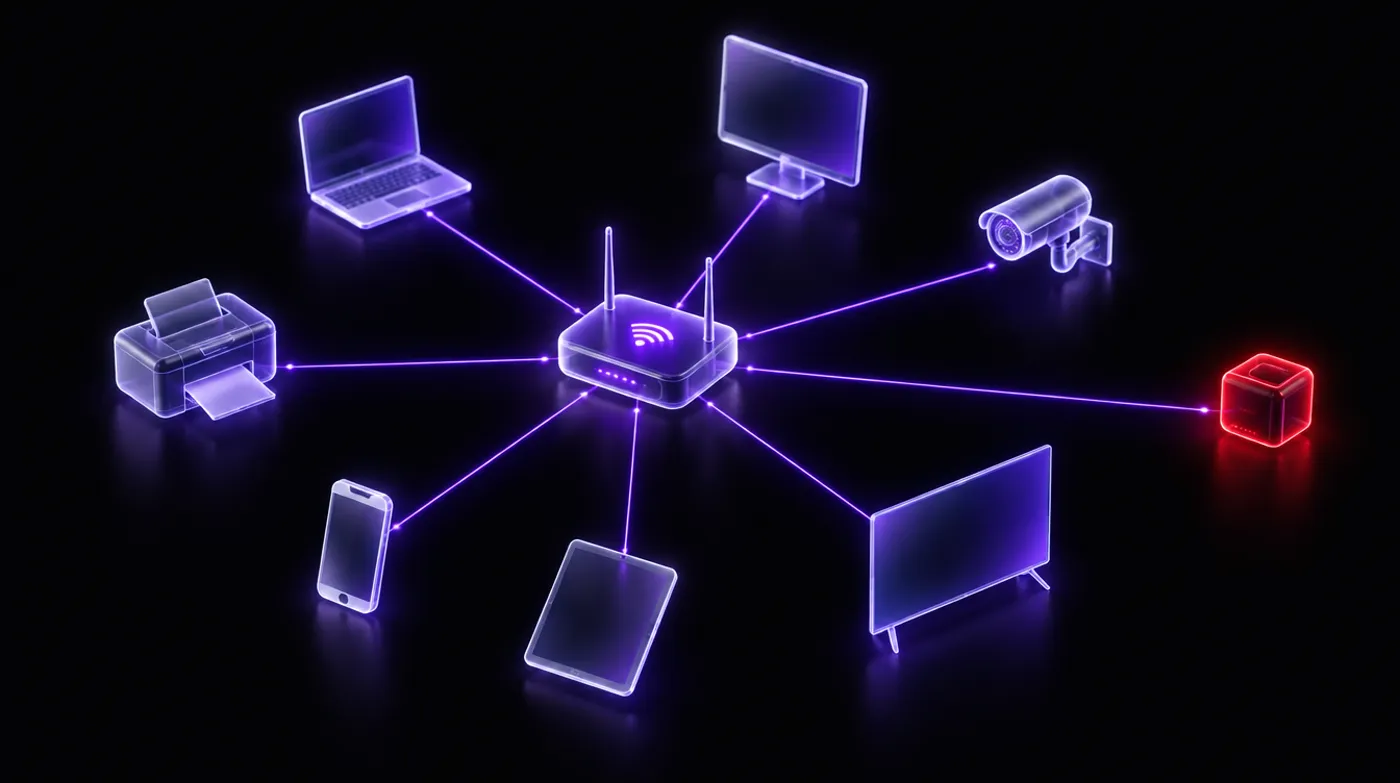
PhylaxNet runs on one Windows PC at each office or home and watches the whole network from there. Install takes about five minutes.
 > install phylaxnet_
Before you start
Install in 6 steps
Download the installer
Click Download for Windows above. The file is called PhylaxNetSetup-x.x.x.exe.
Run it
Open the file from your Downloads folder. If Windows shows “Windows protected your PC”, click More info → Run anyway. Then click Yes when Windows asks for permission.
Follow the installer
Keep the default options and click Install, then Finish. PhylaxNet opens on its own.
Install Npcap when asked
On first run the app opens npcap.com. Download Npcap, install it with the default options, then restart PhylaxNet. This is what lets it see devices on your network.
Sign in
Use the same email and password as this website. Your trial starts straight away. Have a license key? Go to Settings → Account & License, paste it in and press Activate.
Name your devices
The setup guide lists everything it found. Mark the devices you know as Trusted — PhylaxNet watches for the ones you don’t. Turn on Always-on protection in Settings so it keeps running after a restart.
If something goes wrong
No devices show up
Npcap isn’t installed or the app wasn’t restarted afterwards. Install it from npcap.com with the default options and restart PhylaxNet. Check the PC is on the main network, not a guest Wi-Fi.
The website says “Waiting for your agent”
In the app open Settings → Website Sync. It should say “Synced”. If it says “Sign-in needed”, sign out of the app and in again.
How do I update?
PhylaxNet updates itself. Each update is checked against our signature before it installs. You can also download the latest installer here and run it over the top.
How do I uninstall?
Windows Settings → Apps → Installed apps → PhylaxNet → Uninstall. Your account and history on the website stay until you delete them.